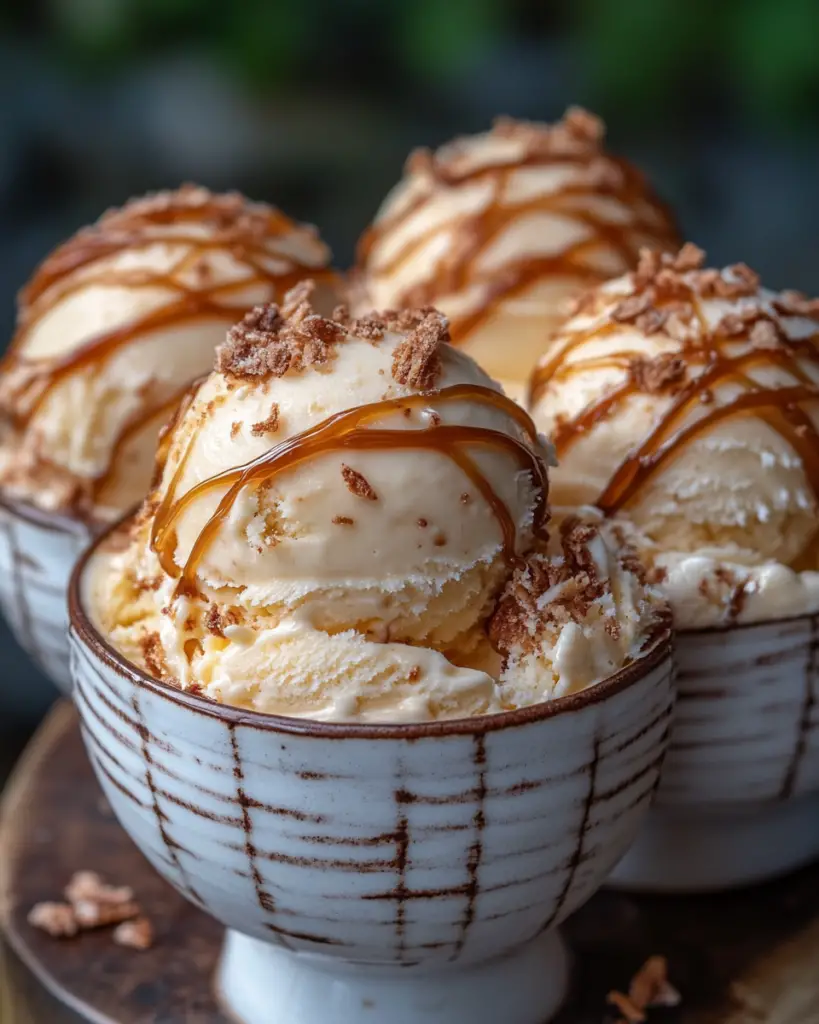
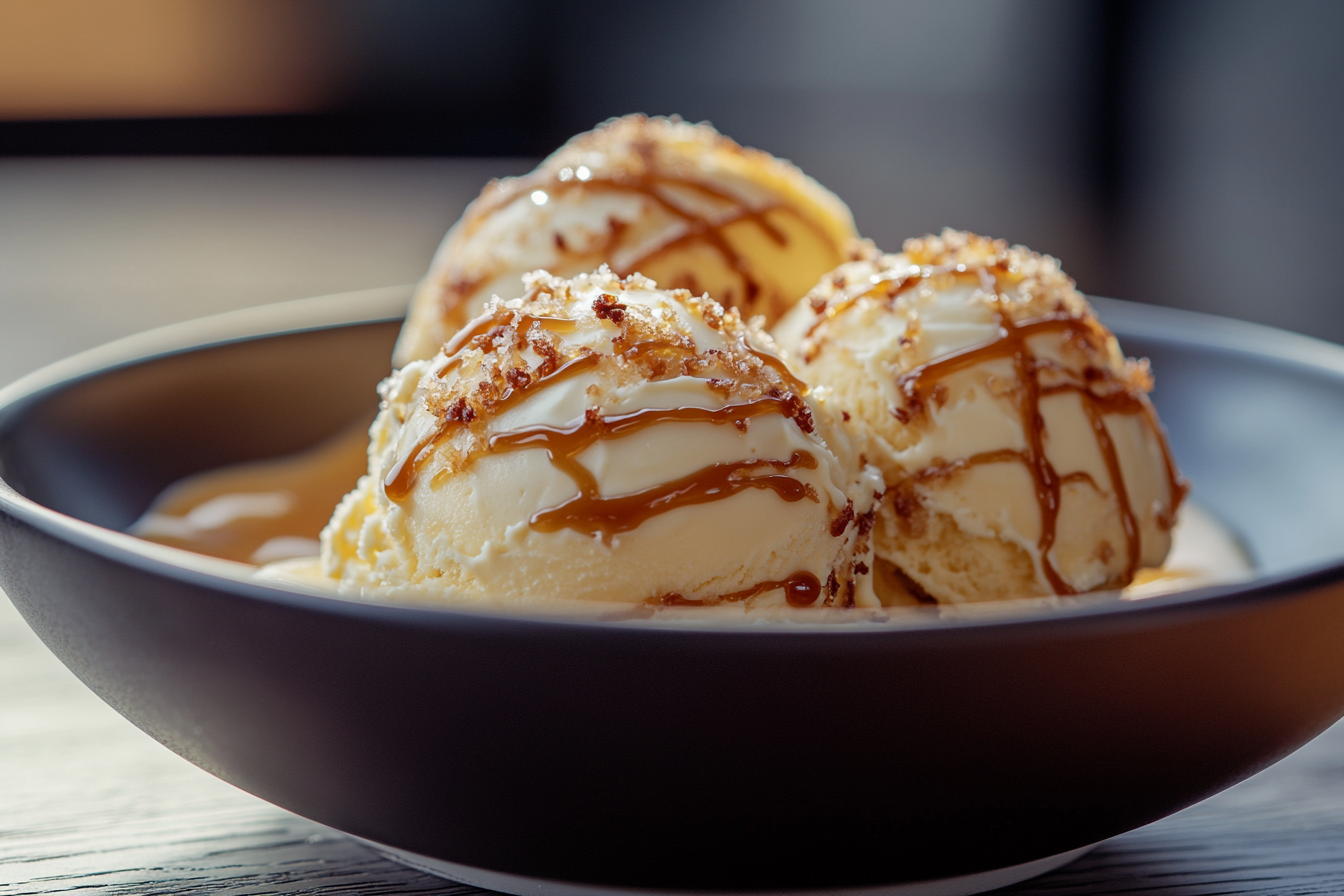
There’s nothing quite like the creamy, indulgent goodness of homemade ice cream, especially when it’s infused with the irresistible combination of rich caramel and a hint of sea salt. This Homemade Salted Caramel Ice Cream is pure bliss in every bite. Trust me, once you try it, you’ll never go back to store-bought again.
Why You’ll Love This Recipe
This recipe isn’t just about making ice cream it’s about creating memories and savoring moments. Whether you’re enjoying it as a treat on a lazy Sunday or serving it at a special gathering, this ice cream is sure to delight everyone. Here’s why it’s a favorite:
Decadent Flavor The perfect balance of sweet caramel and savory salt creates an unforgettable taste experience.
Homemade Delight Making your own ice cream is easier than you think, and the results are far superior to anything you can buy.
Customizable Adjust the amount of salt or caramel to suit your taste buds. Want it sweeter? Add more caramel. Prefer a stronger salt kick? Go for it!
Impressive Yet Simple Your friends and family will be amazed by your skills, but the process is straightforward enough for even beginner cooks.
Crowd-Pleasing Who doesn’t love ice cream? This flavor combo is guaranteed to satisfy all ages and tastes.

Ingredients
Ingredients in Homemade Salted Caramel Ice Cream
Here’s what makes this ice cream so magical it’s crafted with simple, high-quality ingredients that deliver big-time flavor. Let’s break it down:
Heavy Cream The base of our creamy masterpiece, giving it its luxurious texture.
Milk Adds richness and helps create a smooth consistency.
Sugar Sweetens the mixture perfectly, balancing out the caramel.
Vanilla Extract Brings warmth and depth to the overall flavor profile.
Salted Caramel Sauce The star ingredient, adding layers of sweetness and complexity.
Sea Salt Enhances the caramel flavor and adds a delightful contrast.
(Note: The full ingredients list, including measurements, is provided in the recipe card directly below.)
Instructions
Let’s dive into the steps to create this creamy, caramel-packed delight:
Prepare the Base In a saucepan, combine heavy cream, milk, sugar, and a pinch of sea salt. Heat over medium heat, stirring occasionally, until the sugar dissolves completely. Do not let it boil.
Cool the Mixture Remove from heat and stir in vanilla extract. Transfer the mixture to a bowl and chill it thoroughly in the refrigerator for at least 2 hours or overnight. Chilling ensures the best texture during churning.
Make the Caramel Swirl While the base is chilling, prepare your salted caramel sauce. Drizzle some of the sauce into the bottom of your ice cream container for later layering.
Churn the Ice Cream Pour the chilled mixture into your ice cream maker and churn according to the manufacturer’s instructions. During the last few minutes of churning, drizzle additional caramel sauce into the machine for swirls.
Freeze and Set Transfer the churned ice cream to the prepared container, ensuring the caramel layers are evenly distributed. Freeze for at least 4 hours or until firm.
Serve and Enjoy Scoop generously and serve with extra caramel sauce and a sprinkle of sea salt on top. It’s that easy!
Nutrition Facts
Servings 8
Calories per serving 250
Preparation Time
Prep Time 15 minutes
Chill Time 2 hours (or overnight)
Cook Time 30 minutes (including churning)
Total Time 2 hours 45 minutes
How to Serve Homemade Salted Caramel Ice Cream
This ice cream pairs beautifully with various accompaniments. Here are some ideas to enhance your dessert experience:
Warm Brownies Top freshly baked brownies with a scoop of this decadent ice cream for an ultimate sundae.
Fresh Berries Balance the richness with a handful of fresh strawberries or raspberries.
Crushed Cookies Sprinkle crushed cookies or pretzels on top for added crunch and texture.
Chocolate Sauce Drizzle melted chocolate over the scoops for an extra layer of indulgence.
Presentation matters too! Garnish with caramel drizzle and a sprinkle of sea salt for a visually stunning finish.
Additional Tips
Here are some extra tips to help you get the most out of this recipe:
Prep Ahead Make the caramel sauce in advance and store it in the fridge for up to a week. This saves time when assembling the ice cream.
Use Quality Ingredients Opt for premium heavy cream and real vanilla extract for the best flavor.
Dietary Adjustments Swap dairy products with plant-based alternatives for a vegan-friendly version. Use maple syrup instead of refined sugar if preferred.
Storage Tips Store the ice cream in an airtight container in the freezer for up to 2 weeks. Let it soften slightly at room temperature before serving.
Double the Batch Perfect for larger gatherings! Double the recipe and freeze portions for future use.
FAQ Section
1 Can I skip the salt in the caramel sauce
While the salt enhances the caramel flavor, you can omit it if preferred. However, the contrast between sweet and salty is what makes this recipe shine.
2 Do I need an ice cream maker
Yes, an ice cream maker simplifies the process and ensures a creamy texture. If you don’t have one, try the no-churn method as an alternative.
3 How long does the ice cream last in the freezer
It stays fresh for up to 2 weeks when stored properly in an airtight container.
4 Can I make this recipe gluten-free
Absolutely! Since there are no gluten-containing ingredients, this recipe is naturally gluten-free.
5 Is this ice cream suitable for vegans
Not directly, but you can replace dairy products with coconut cream or oat milk and adjust the sweetener accordingly.
6 Can I add other flavors to the mix
Definitely! Try adding chopped nuts, chocolate chips, or fruit chunks for extra excitement.
7 What if I don’t have salted caramel sauce
You can make your own using butter, sugar, cream, and a pinch of salt. It’s easier than you think!
8 Can I reduce the sugar content
Yes, start with less sugar and adjust based on your taste preferences. Keep in mind that sugar also affects the texture.
9 Does the ice cream need to be churned continuously
Yes, churning incorporates air and prevents ice crystals from forming. Follow your ice cream maker’s instructions carefully.
10 Can I assemble the ice cream ahead of time
Yes, prepare the base and caramel sauce up to a day in advance and store them separately until ready to churn.
Conclusion
Homemade Salted Caramel Ice Cream is more than just a dessert it’s a celebration of flavor, creativity, and quality time in the kitchen. With its velvety texture and perfect balance of sweet and salty, it’s guaranteed to become a family favorite. So gather your ingredients, follow these easy steps, and let’s create something truly unforgettable together. Happy cooking and remember, life’s sweeter with a scoop of homemade ice cream!
Print
Homemade Salted Caramel Ice Cream
- Prep Time: 15 minutes
- Cook Time: 20 minutes
- Total Time: 6+ hours (including freezing)
- Yield: About 1 quart 1x
- Category: Dessert
- Method: Churned or No-Churn
- Cuisine: American
- Diet: Vegetarian
Description
This Homemade Salted Caramel Ice Cream is rich, creamy, and packed with deep caramel flavor with just the right touch of salt. Made with a luscious homemade caramel sauce and a smooth custard base, this no-churn or churn method ice cream is a perfect treat for any occasion!
Ingredients
For the Caramel Sauce:
- 1 cup granulated sugar
- 1/4 cup water
- 3/4 cup heavy cream (warm)
- 3 tablespoons unsalted butter
- 1 teaspoon sea salt
For the Ice Cream Base:
- 2 cups heavy cream
- 1 cup whole milk
- 4 large egg yolks
- 1/2 cup granulated sugar
- 1 teaspoon vanilla extract
Instructions
Step 1: Make the Caramel Sauce
- In a saucepan over medium heat, combine sugar and water. Stir gently until the sugar dissolves, then stop stirring and let it cook until it turns a deep amber color.
- Carefully whisk in the warm heavy cream (it will bubble up).
- Stir in butter and salt until smooth. Remove from heat and let cool.
Step 2: Prepare the Ice Cream Base
4. In a separate saucepan, heat milk and heavy cream over medium heat until just warm (do not boil).
5. In a bowl, whisk egg yolks and sugar until pale. Slowly pour in the warm milk mixture while whisking continuously.
6. Return the mixture to the saucepan and cook over low heat, stirring constantly, until thick enough to coat the back of a spoon.
7. Strain through a fine-mesh sieve, then stir in vanilla extract and cooled caramel sauce.
Step 3: Chill & Churn
8. Cover and refrigerate for at least 4 hours (or overnight).
9. Pour the mixture into an ice cream maker and churn according to the manufacturer’s instructions.
10. Transfer to a container, cover, and freeze for at least 4 hours before serving.
No-Churn Option:
- Whip 2 cups of heavy cream until soft peaks form, then fold in a mixture of condensed milk and the caramel sauce before freezing.
Notes
- For extra caramel swirls, drizzle additional caramel into the ice cream before freezing.
- Storage: Keeps well in an airtight container in the freezer for up to 2 weeks.
- Pairing Ideas: Serve with brownies, waffles, or a sprinkle of flaky sea salt.
Nutrition
- Serving Size: ½ cup
- Calories: ~280 kcal
- Sugar: 20g
- Sodium: 180mg
- Fat: 18g
- Saturated Fat: 11g
- Unsaturated Fat: 5g
- Trans Fat: 0g
- Carbohydrates: 25g
- Fiber: 0g
- Protein: 4g
- Cholesterol: 90mg

